Python-Environment Setup
To successfully create and run the code we will required environment set up which will have both general-purpose python as well as the special packages required for Data science.
In this tutorial we will discuss about python 3, because Python 2 won’t be supported after 2020 and Python 3 has been around since 2008. So if you are new to Python, it is definitely worth much more to learn the new Python 3 and not the old Python 2.
Anaconda Installation:
Anaconda is a package manager, an environment manager, a Python/R data science distribution, and a collection of over 1,500+ open source packages. Anaconda is free and easy to install, and it offers free community support too.
To Download Anaconda click on https://www.anaconda.com/distribution/
Over 250+ packages are automatically installed with Anaconda. You can also download other packages using the pip install command.
If you need installation guide you can check the same on anaconda website https://docs.anaconda.com/anaconda/install/
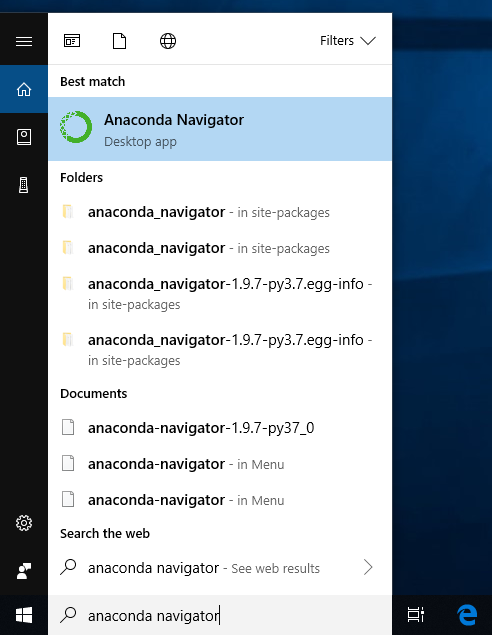
Open Navigator for Window:
From the Start menu, click the Anaconda Navigator desktop app.

Run Python in a Jupyter Notebook:
- On Navigator’s Home tab, in the Applications panel on the right, scroll to the Jupyter Notebook tile and click the Install button to install Jupyter Notebook.
- Launch Jupyter Notebook by clicking Jupyter Notebook’s Launch button.This will launch a new browser window (or a new tab) showing the.

- On the top of the right hand side, there is a drop down menu labeled “New”. Create a new Notebook with the Python version you installed.
- Rename your Notebook. Either click on the current name and edit it or find rename under File in the top menu bar. You can name it to whatever you’d like, but for this example we’ll use MyFirstAnacondaNotebook.
- In the first line of the Notebook, type or copy/paste print(“Hello Anaconda”)
- Save your Notebook by either clicking the save and checkpoint icon or select File – Save and Checkpoint in the top menu.
- Select cell and press CTR+Enter or Shift+Enter
